
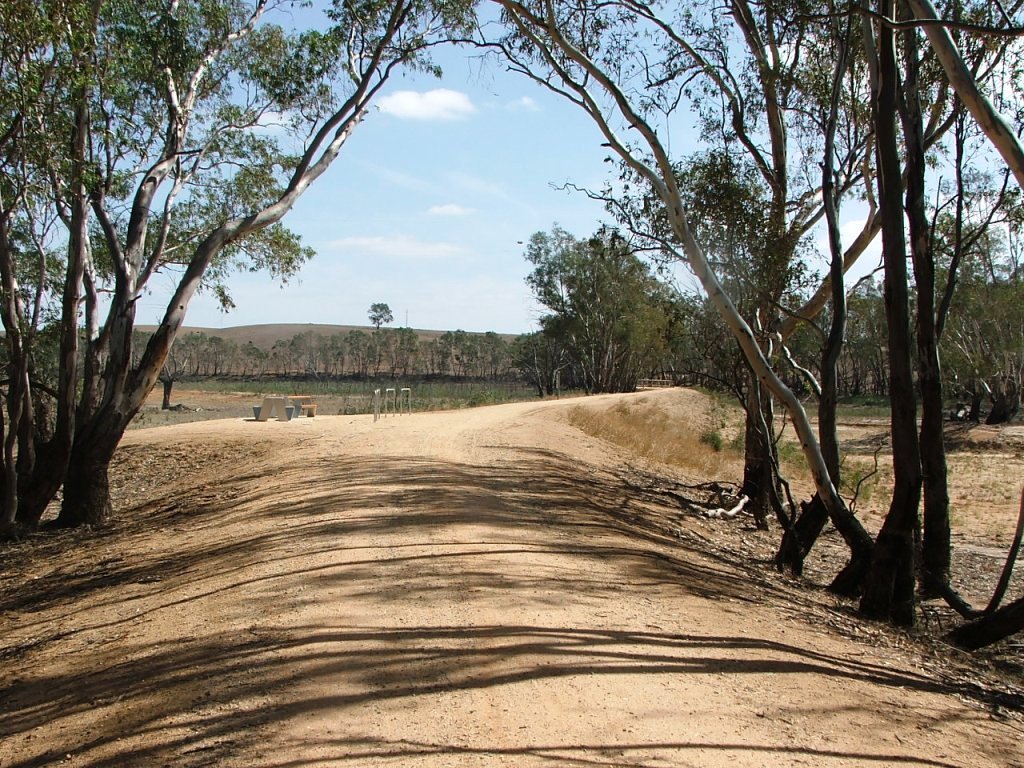
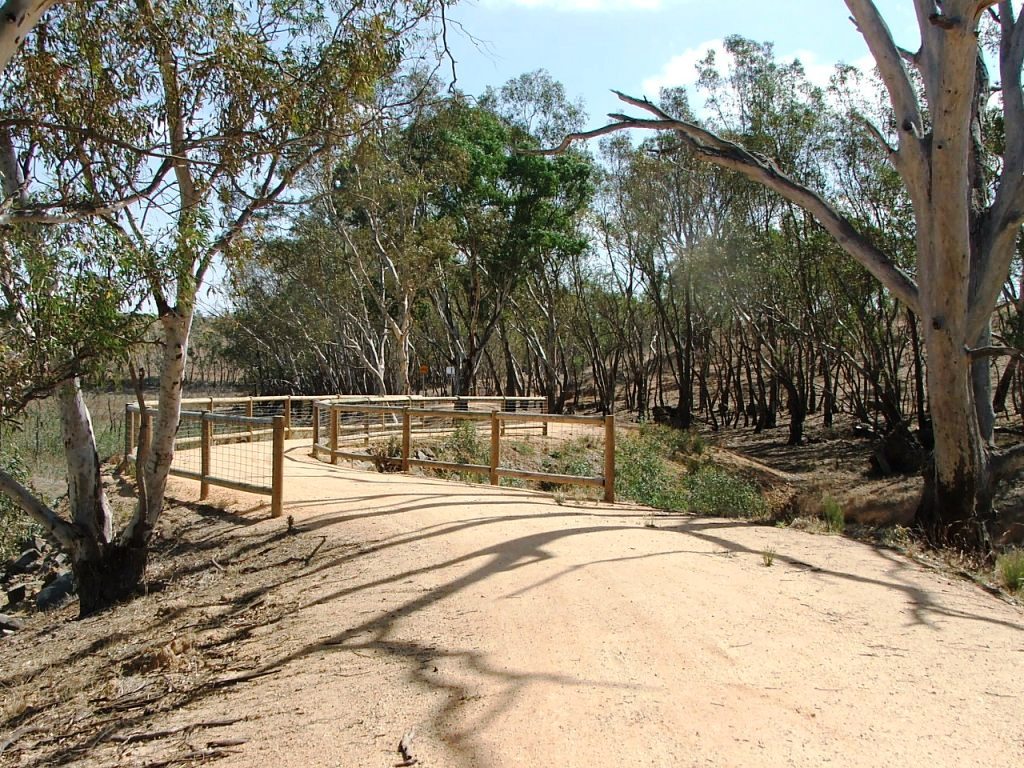
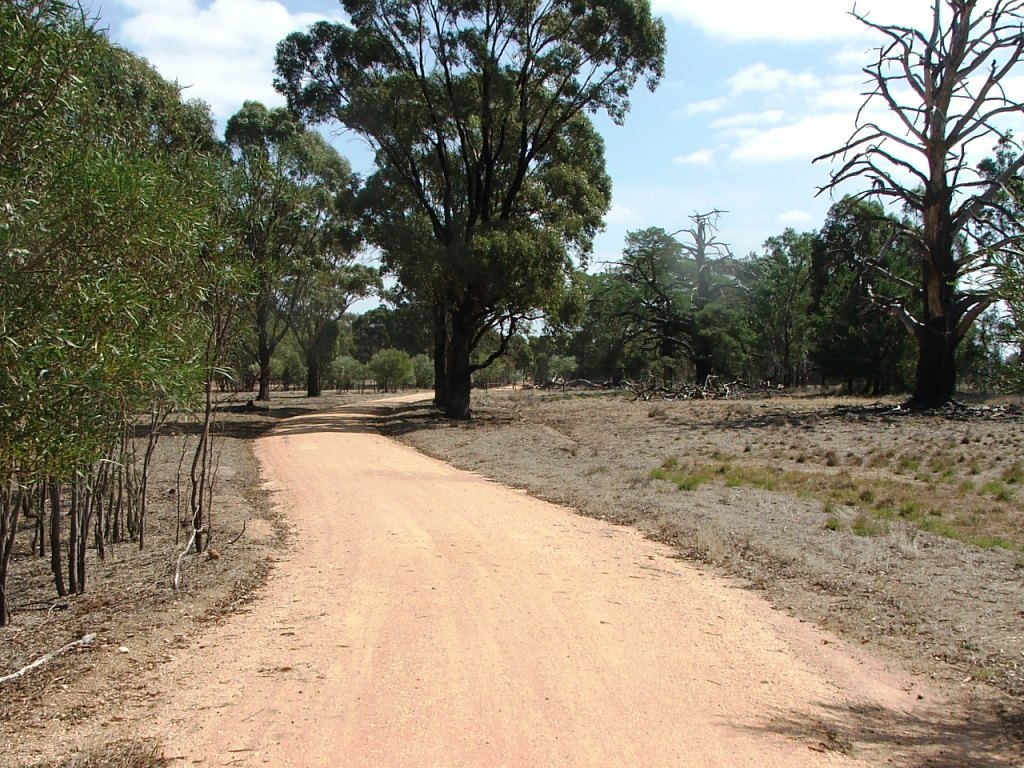
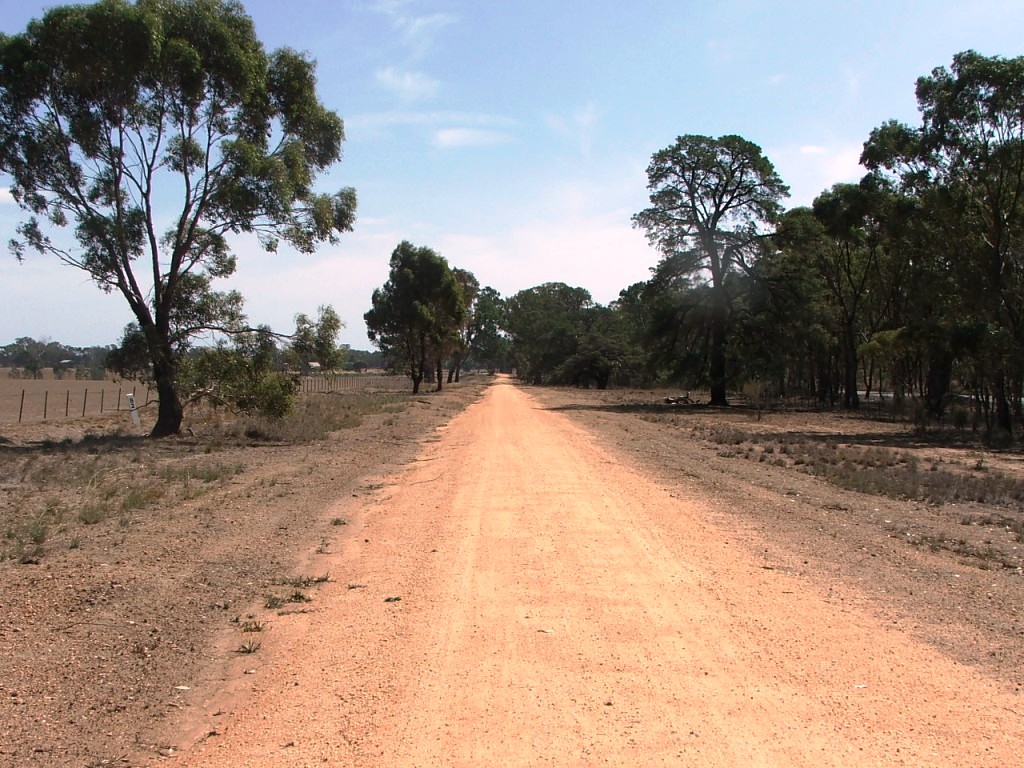
Cutting leading to Mt. Ida Creek.
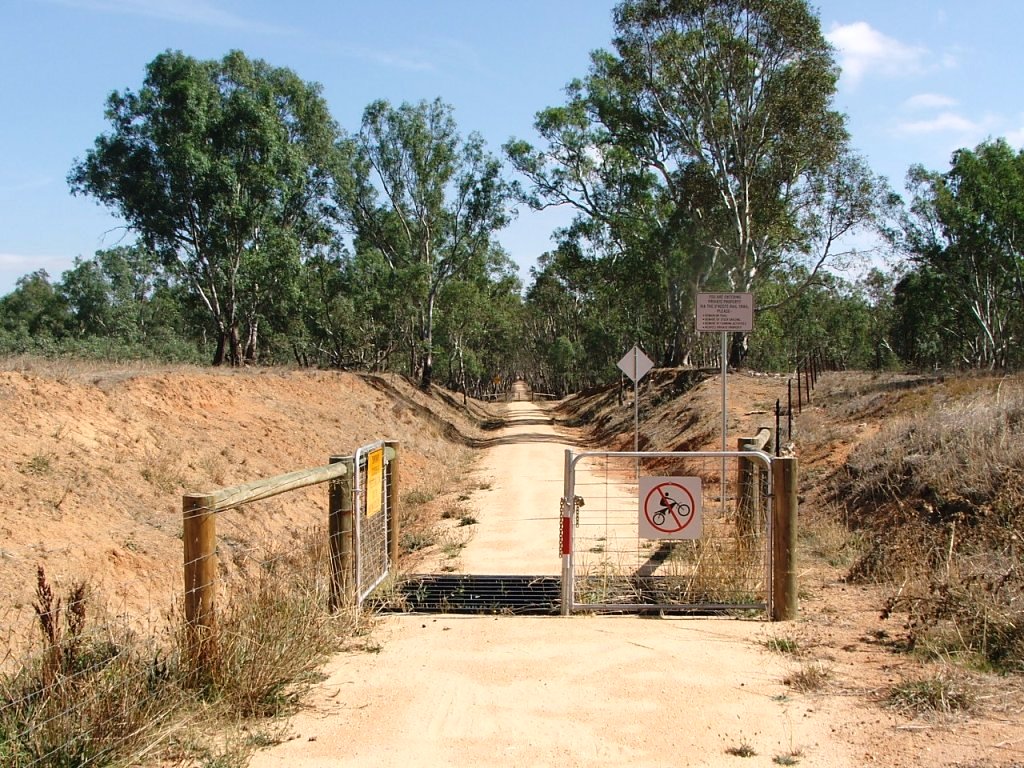
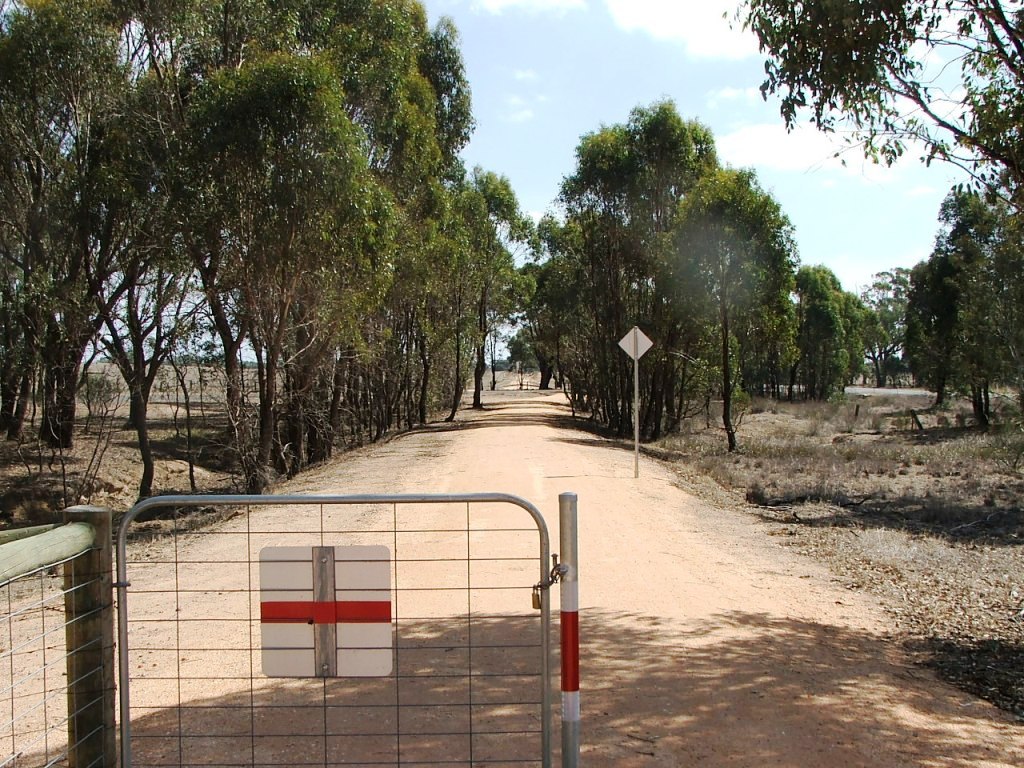
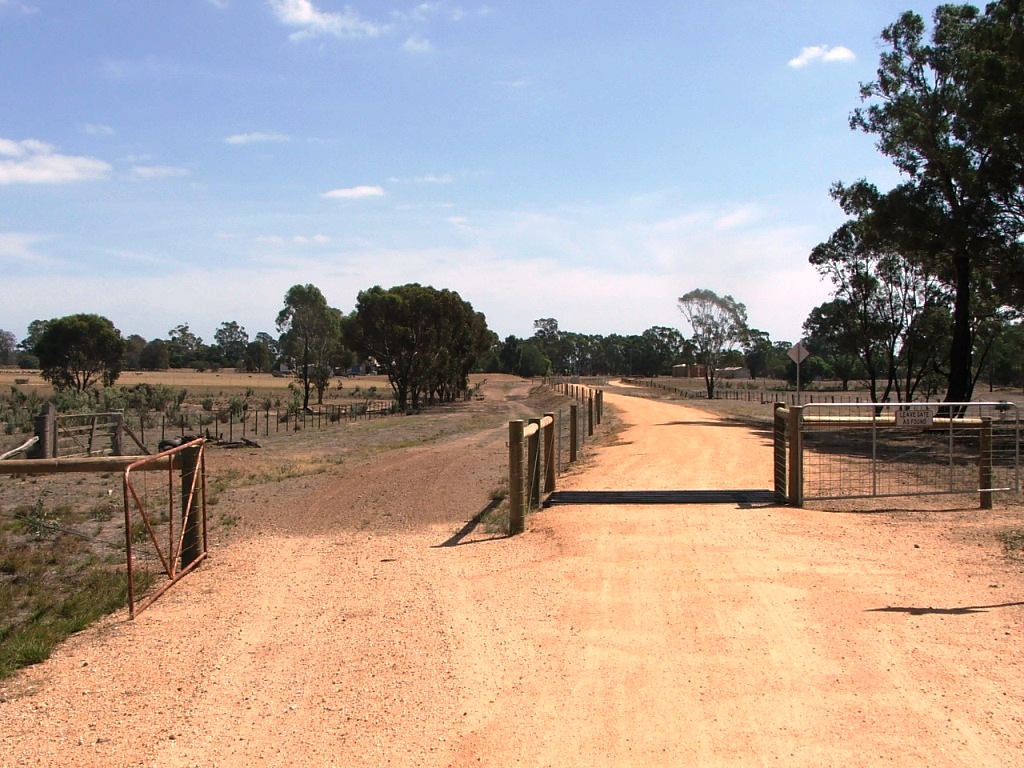
Cattle grid entry to private property.
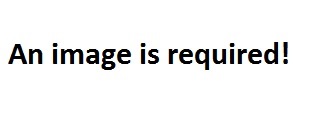
Cattle grid entry to Lake Eppalock Reserve.
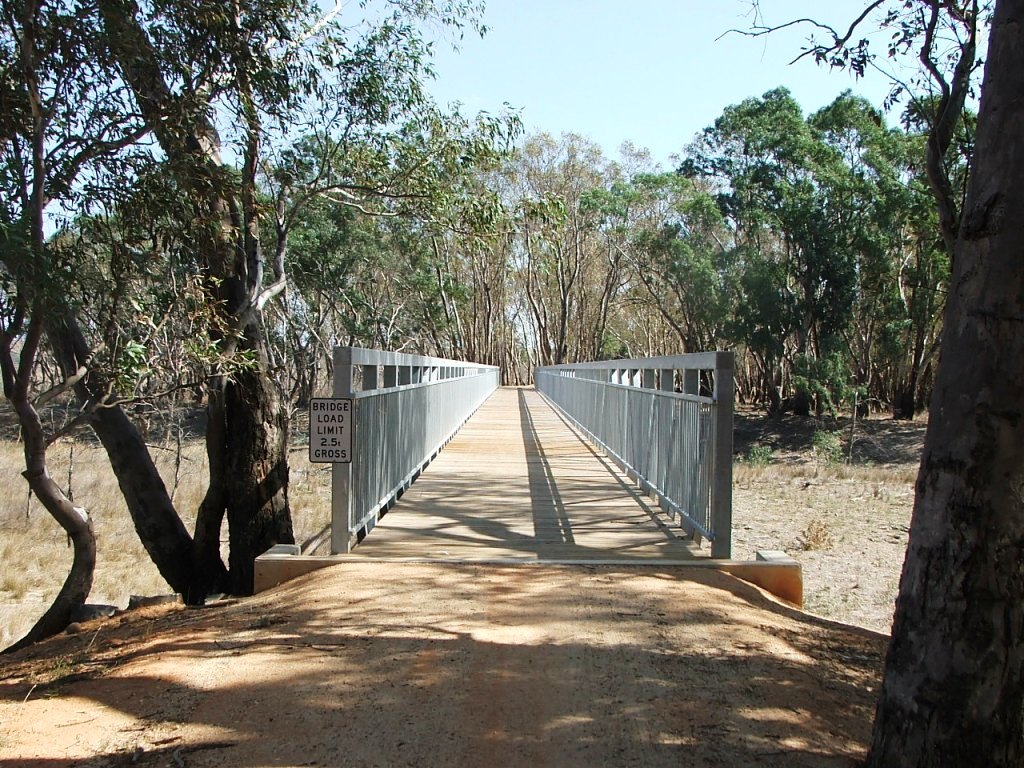
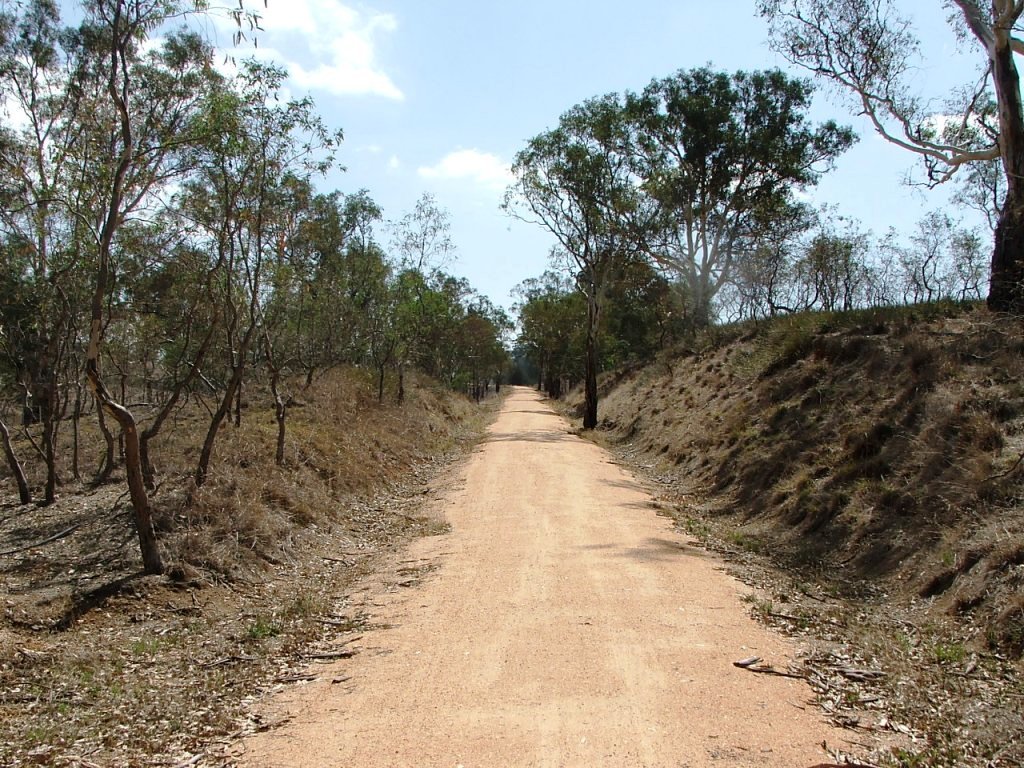
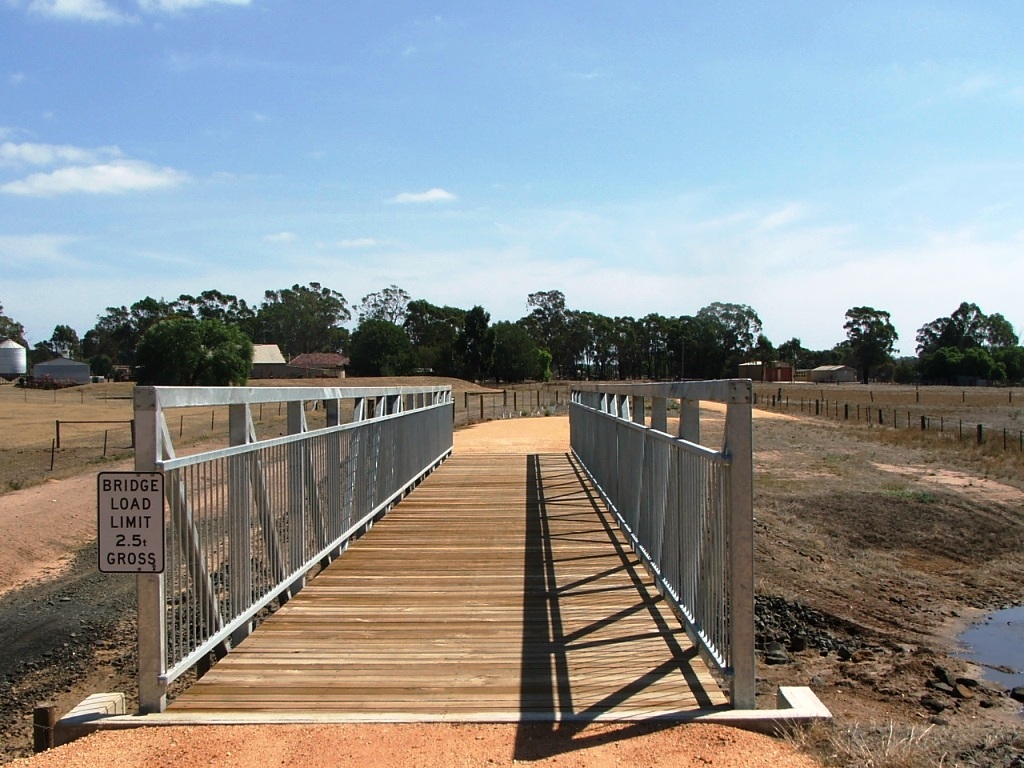
Mt. Ida Creek bridge. Originally a 26 x 15' timber bridge.
Over Mt. Ida Creek to Moorabbee Hill Lookout
The rail line between Derrinal and Knowsley had to cross Mt. Ida Creek and then climb towards Knowsley. The trail causeway was built to about three metres above the height of the rail bed so that it would always be clear of the waters of Lake Eppalock. The McIvor Highway through this area is also on a different alignment to the rail days where the road to Bendigo is what is now known as Old Bendigo Road which no longer runs across the Mt. Ida Creek.
Cutting leading to Mt. Ida Creek.
Cattle grid entry to private property.
Cattle grid entry to Lake Eppalock Reserve.
Mt. Ida Creek bridge. Originally a 26 x 15' timber bridge.

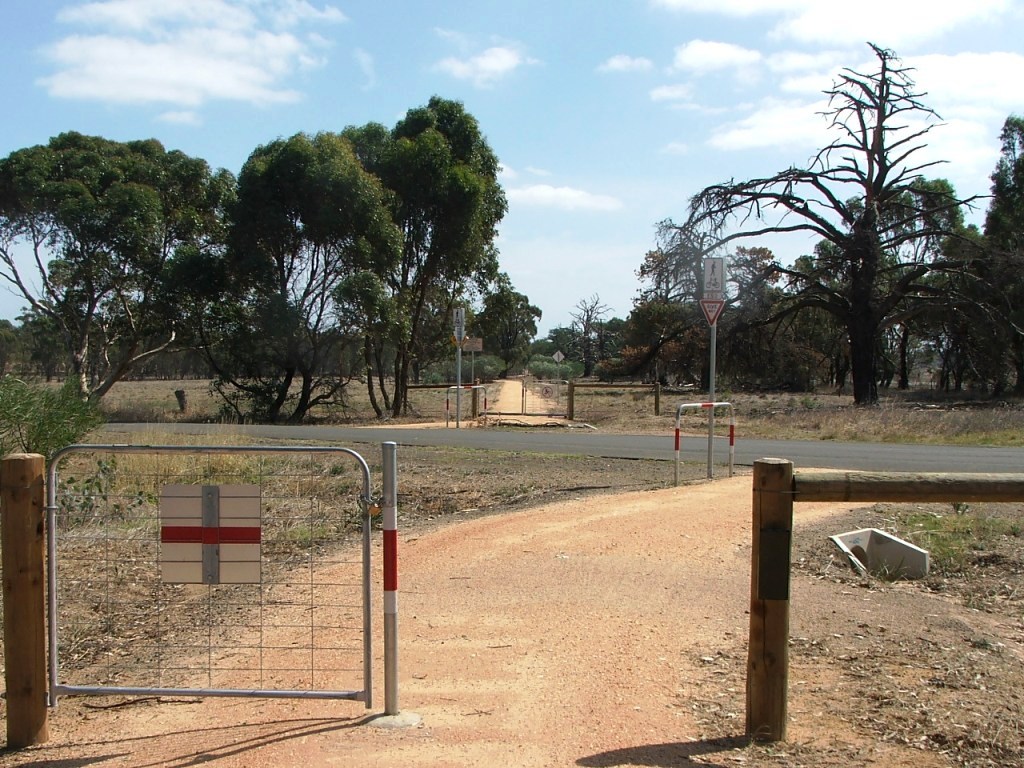
Replica Marker Post 79 and Derrinal-Crosbie Road PCR Crossing. This area has been raised 3m above the old line level.

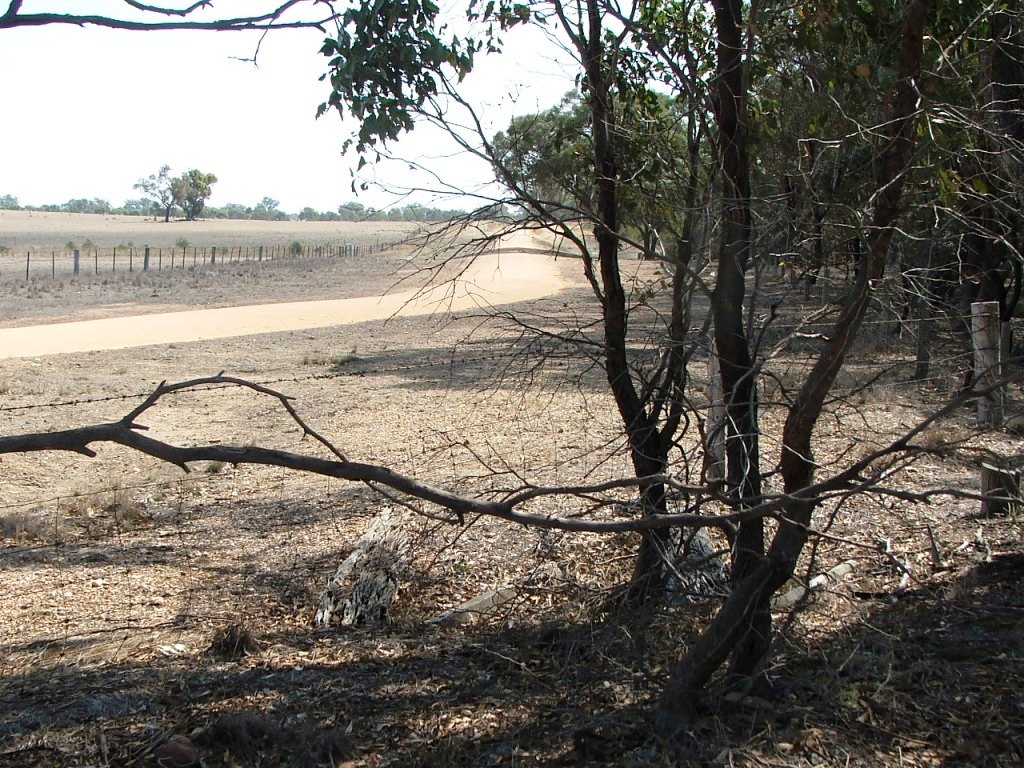
Derrinal-Crosbie Road, looking South towards Old Bendigo Road.

Derrinal-Crosbie Road, looking North towards present day McIvor Highway.
Rest area ahead.
...
A slight wriggle across a culvert.

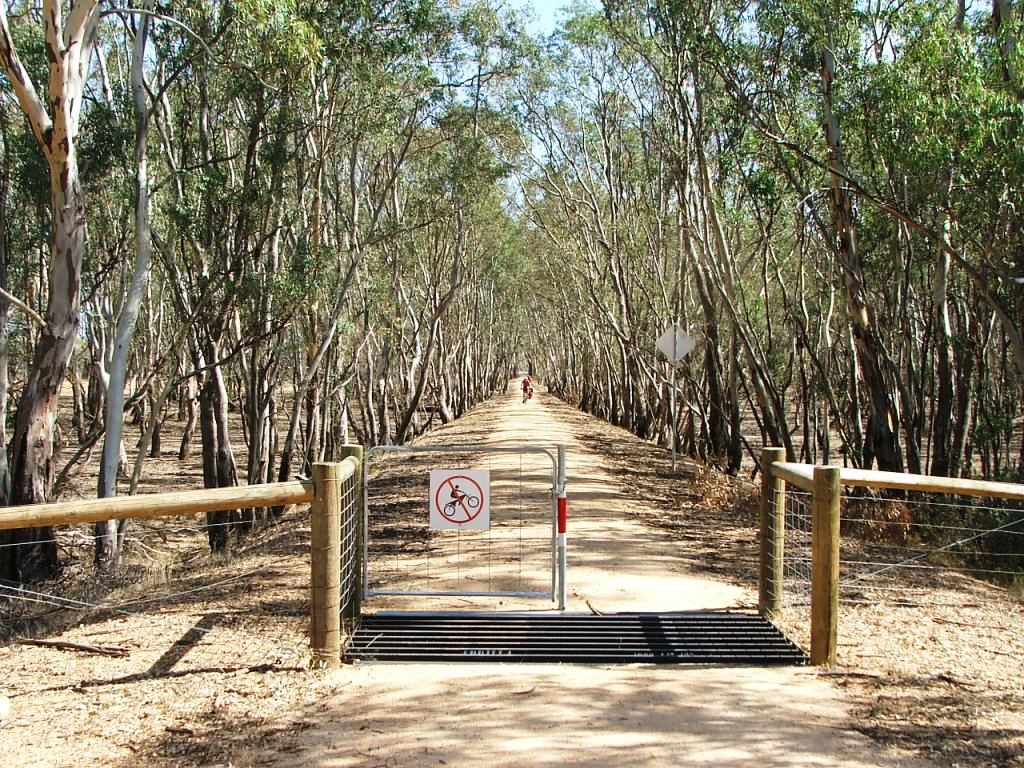
Cattle grid exit from Lake Eppalock.
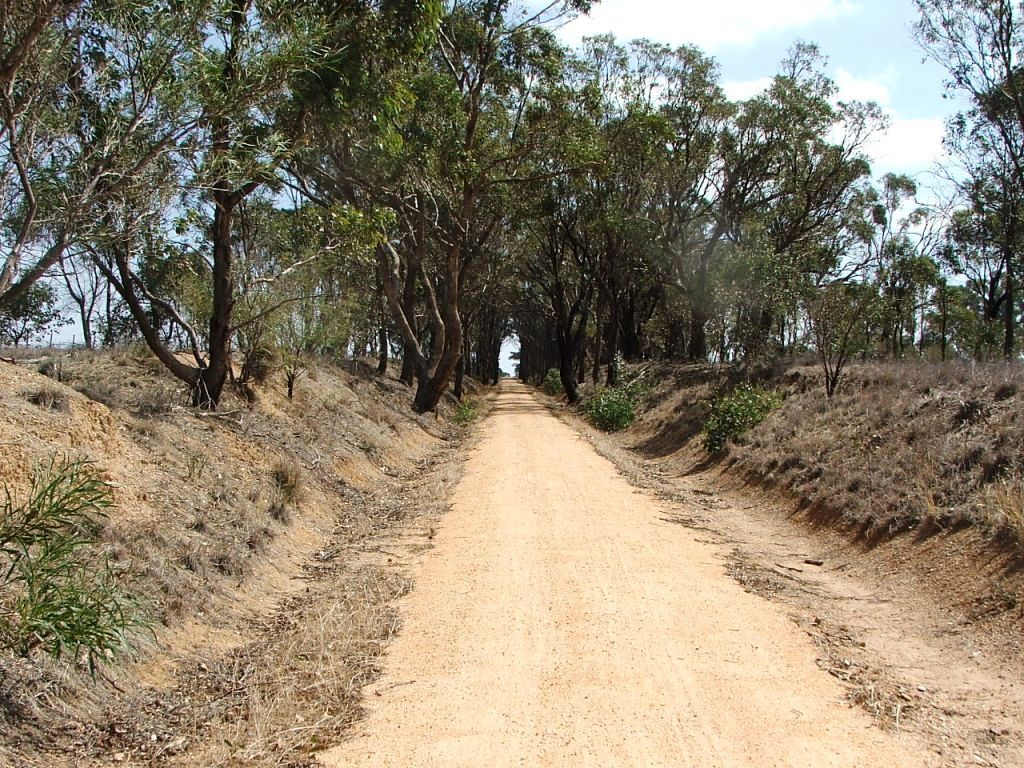
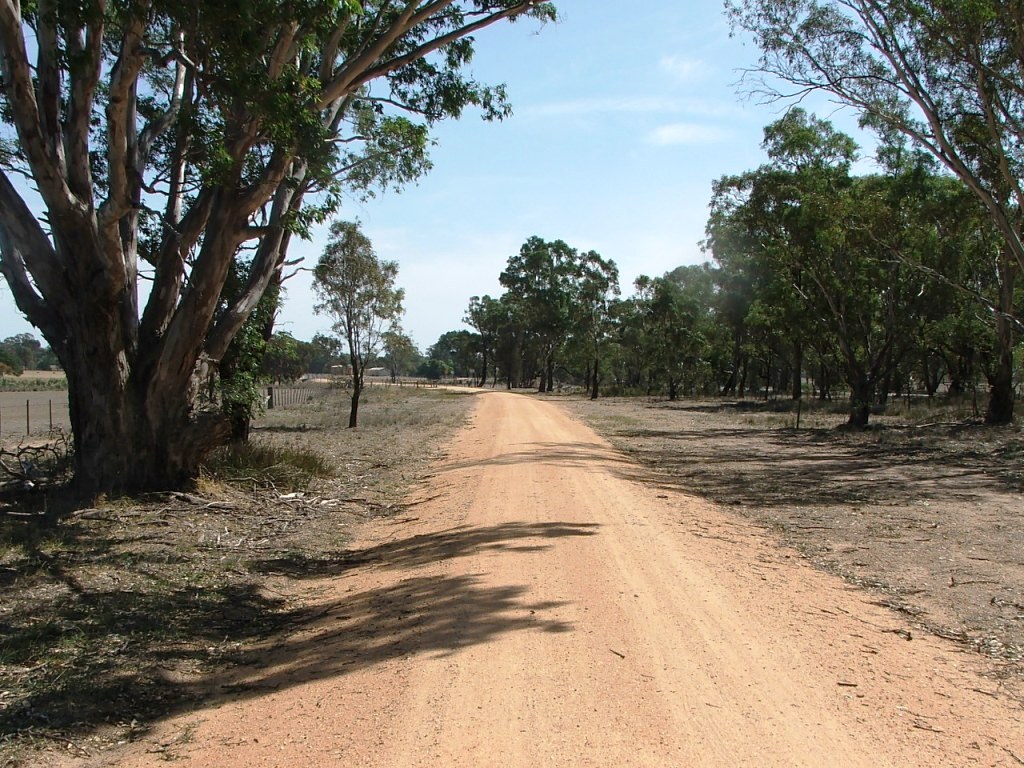
Continuing through the second cutting towards a bridge.
Today's bridge in the curve. It was once 7 x 11' openings, timber.
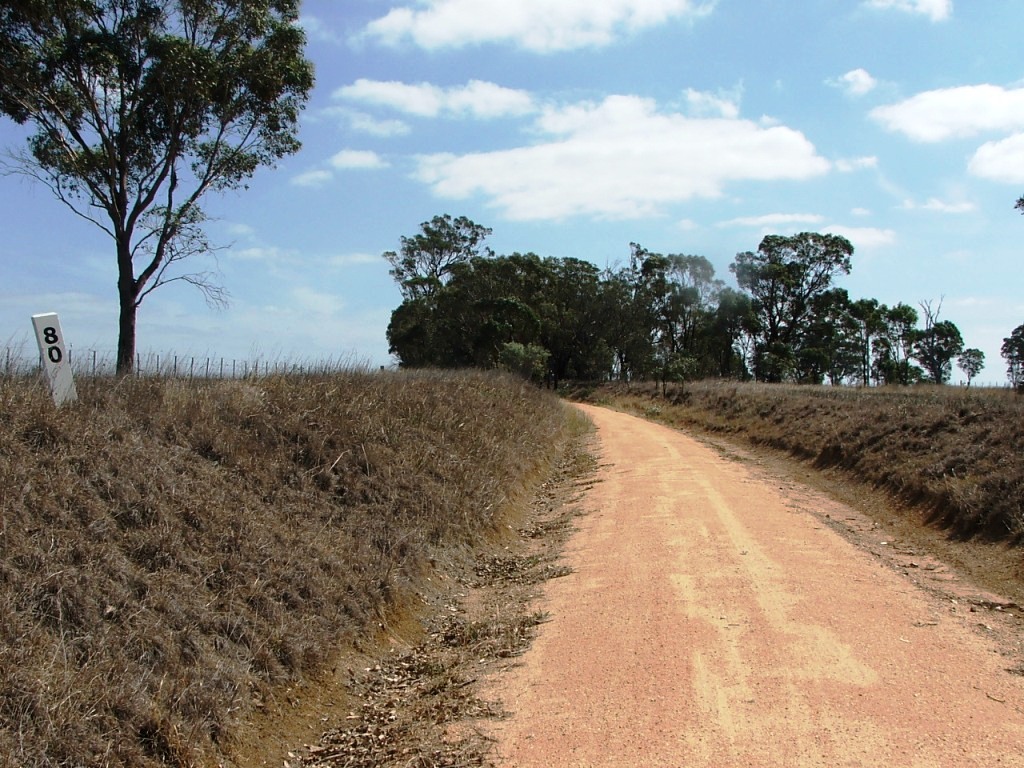
Replica Marker Post 80.
Rest area ahead.

Moorabbee Hill Lookout and rest area. Views South to the Great Dividing Range.
Drummond Lane PCR Crossing.
The tree grew after 1958.
Cattle grid exit from private property to Moorabbee Foreshore Road.

Brick culvert ahead.
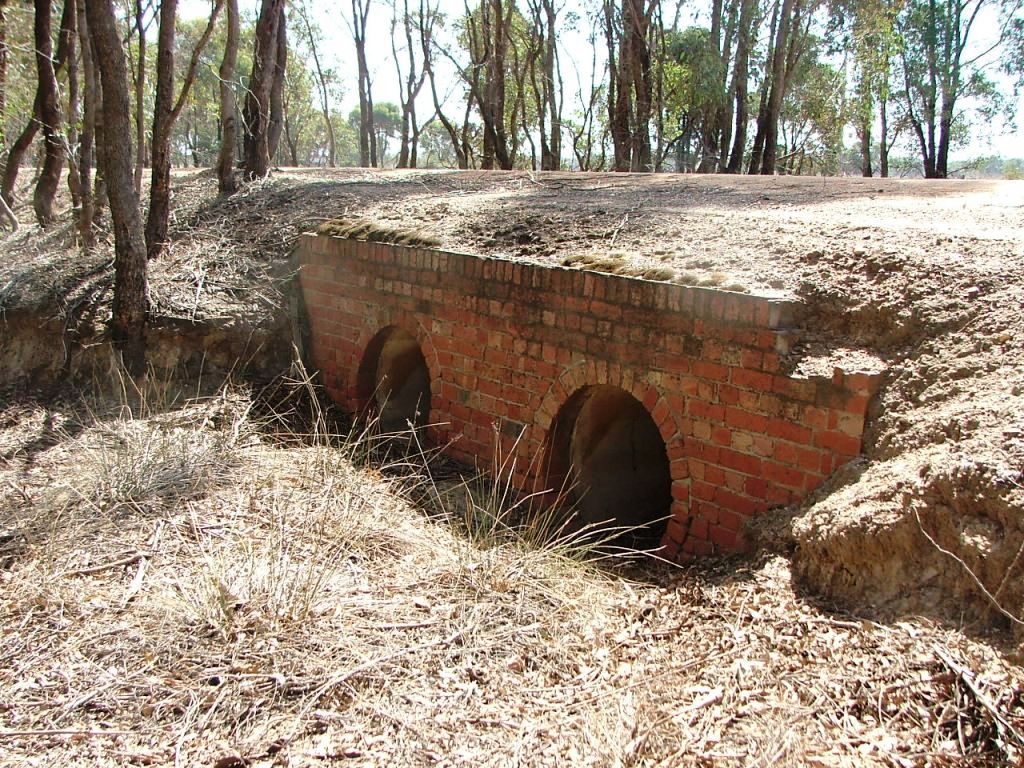
South end of what was once a 3 x 7' openings timber bridge.

Moorabbee Foreshore Road PCR Crossing. It was once the main road to Bendigo, connecting from Old Bendigo Road.
The Trail rejoins the original rail alignment clear of the crossing.
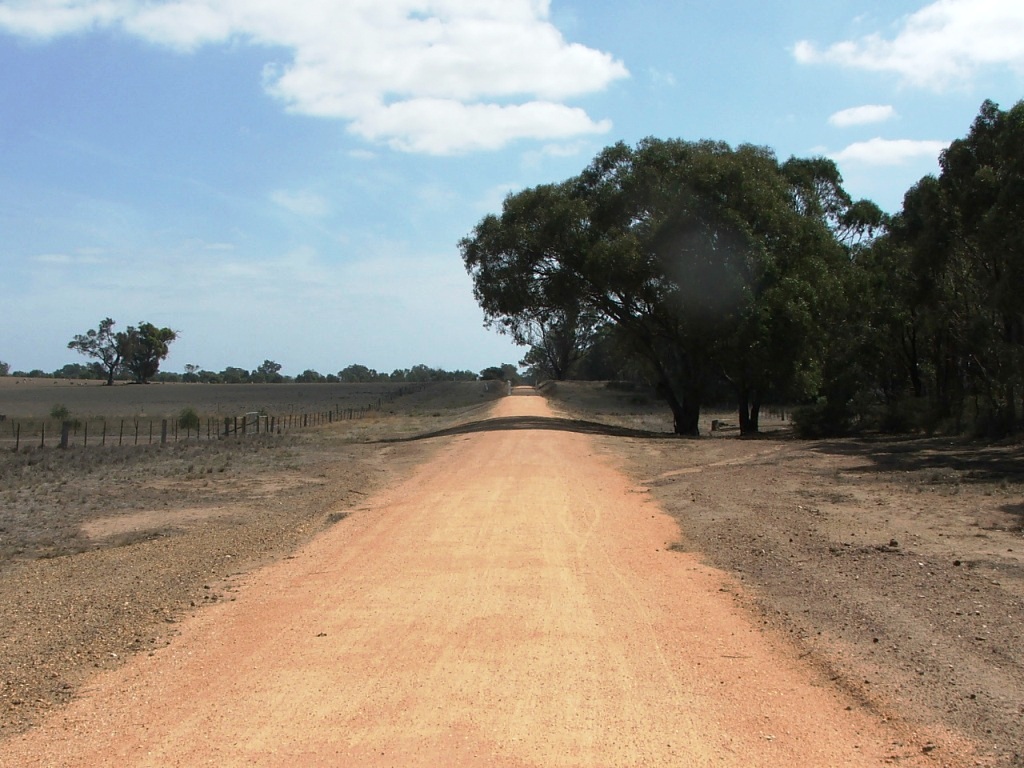
Straight section towards a bridge.

Originally a 5 x 7' openings timber bridge.

Replica Marker Post 81.

Cattle grid entrance to private property.
Replica Marker Post 82 beyond the tree.
Left hand curve coming up.
Another cattle grid. Note the timber railway gate in the fence on the left.
The original bridge was originally 7 x 11' openings.

The Trail diverges from the rail alignment, straight ahead, as it approaches the Knowsley-Eppalock Road Crossing.
Site selection
Location MenuBendigo direction
Knowsley Station siteHeathcote direction
Towards Derrinal