Down - Derrinal to Knowsley Gallery


imagesrail/dscf9700.jpg

McIvor Road did not exist here until the line closed. The line continued straight ahead from what is now Derrinal Station Lane.

imagesrail/dscf9701.jpg

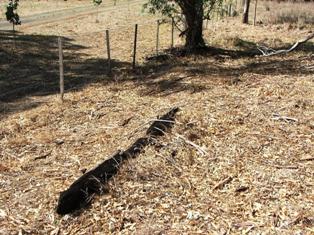
Burnt remains of cattle grid beams.

imagesrail/dscf9703.jpg

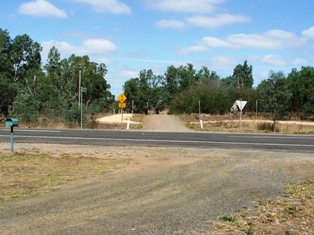
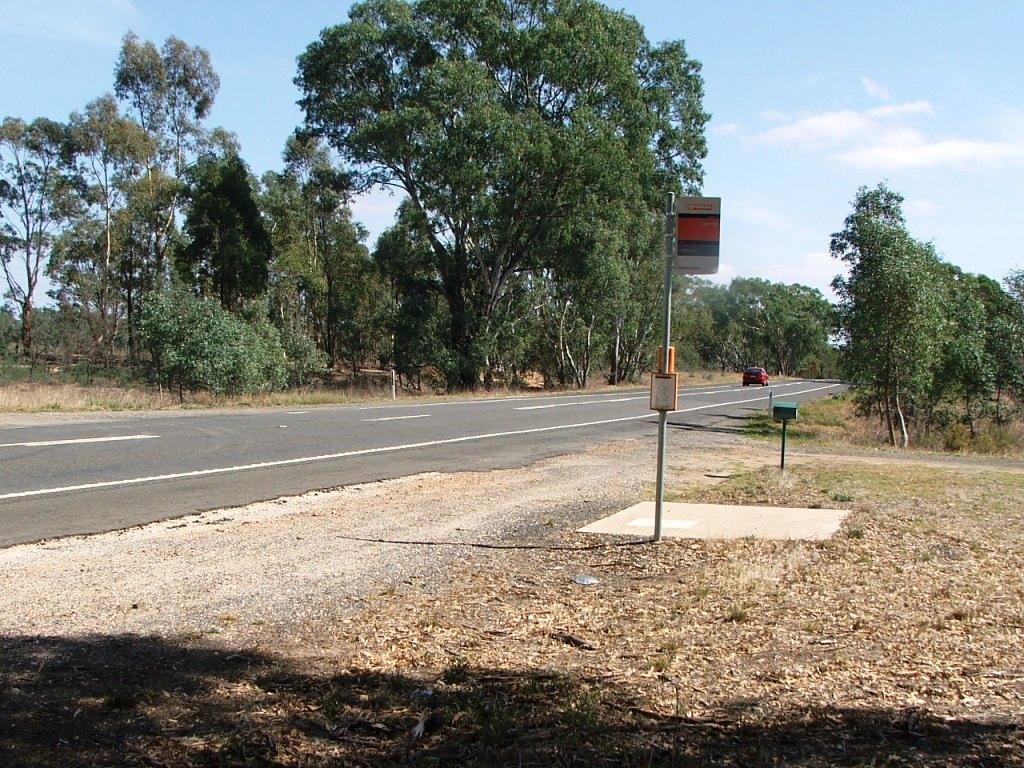
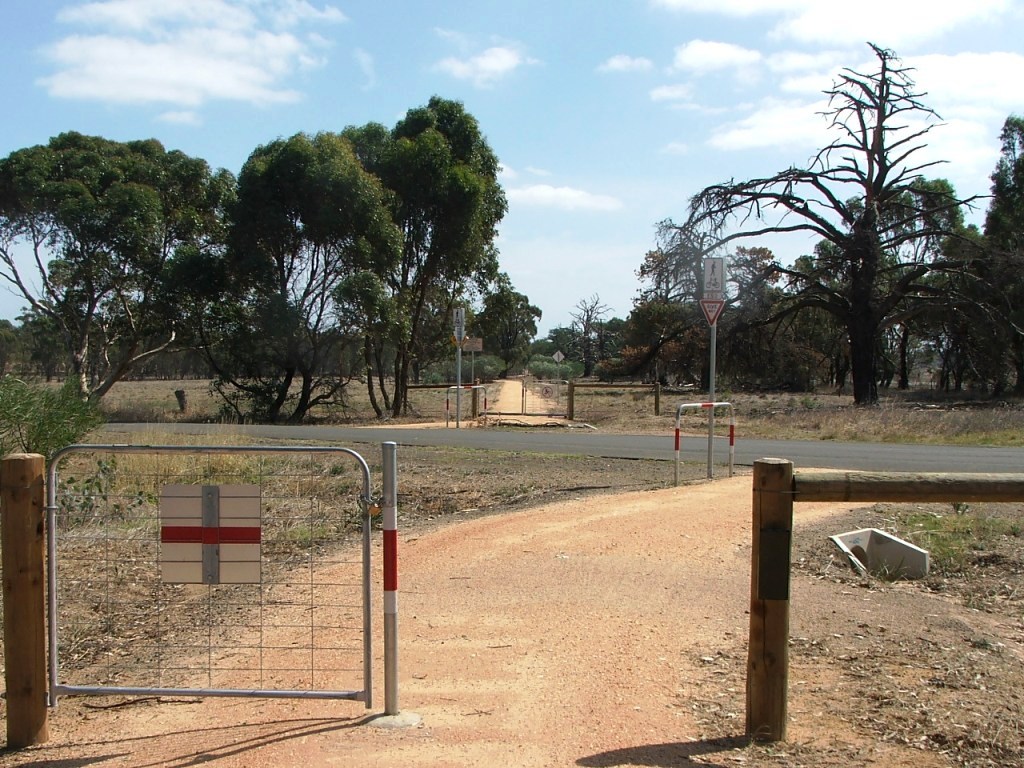
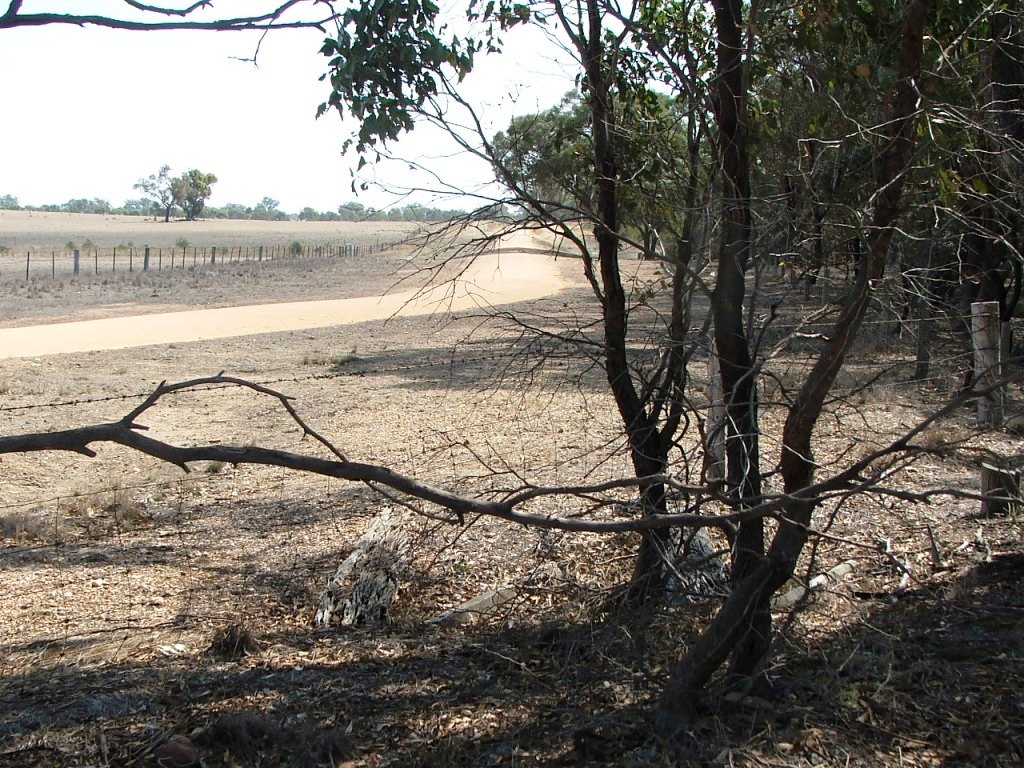
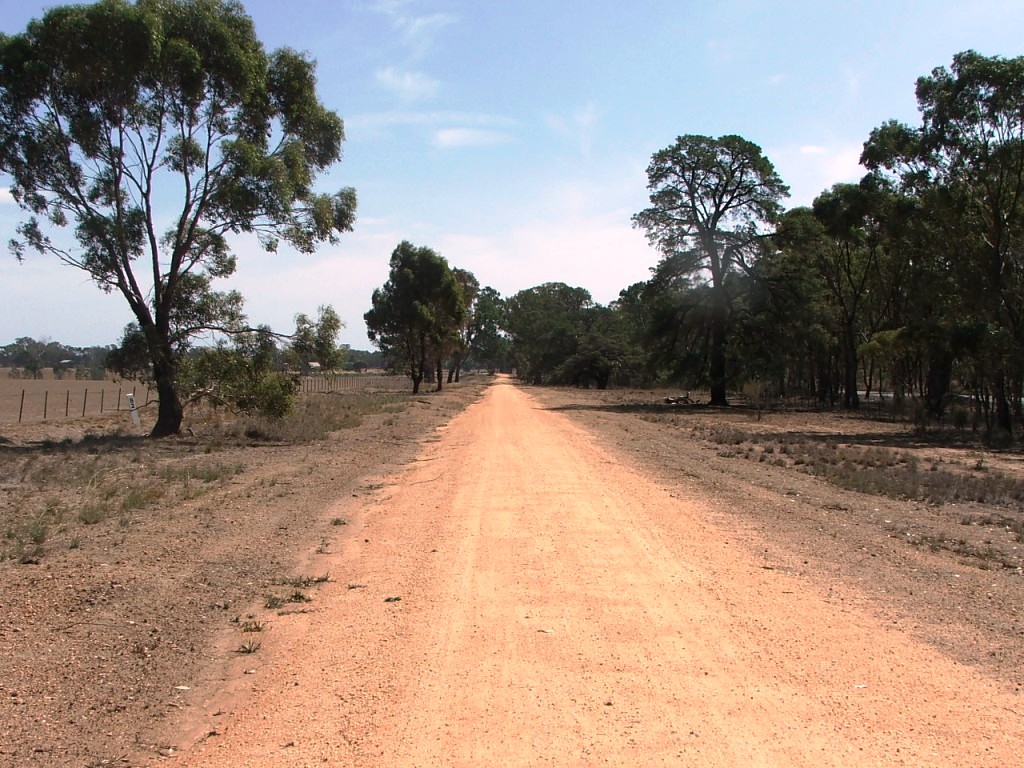
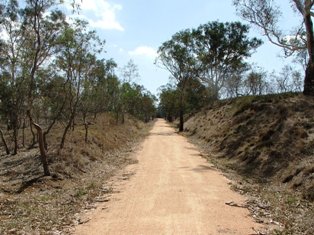
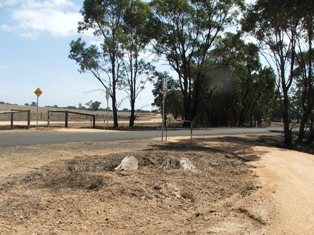
Looking South, Derrinal Station Lane to Old Bendigo Road.

imagesrail/dscf9704.jpg

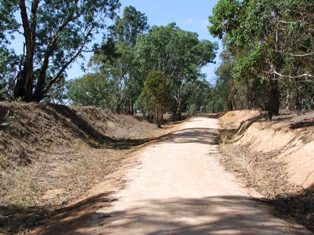
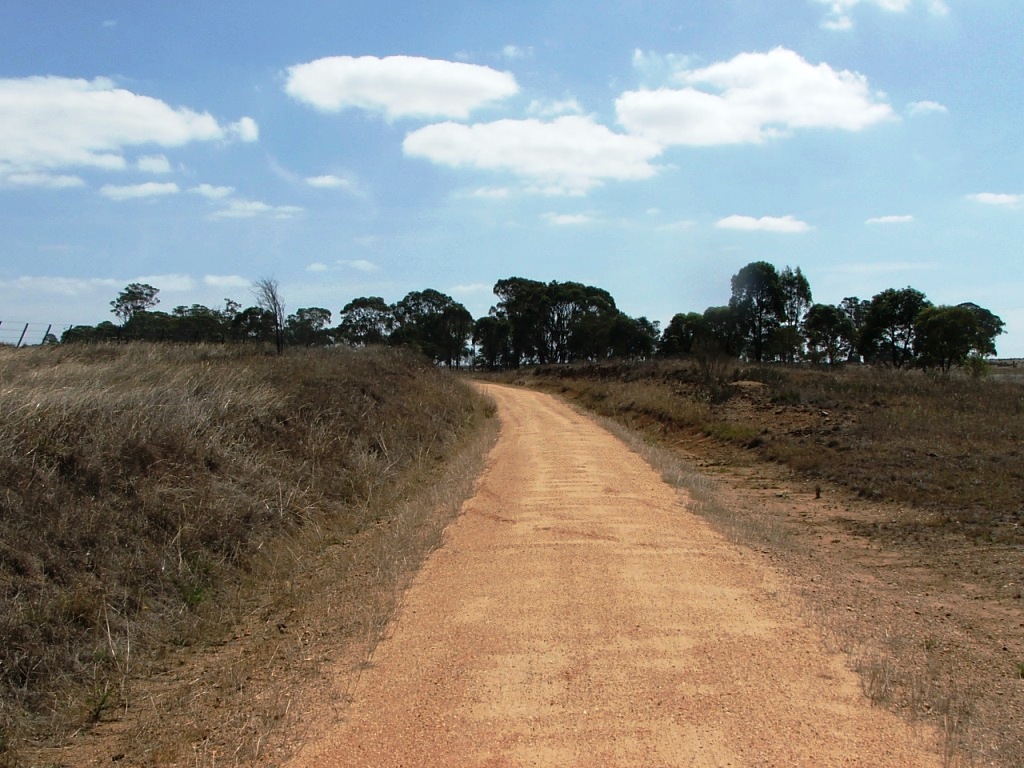
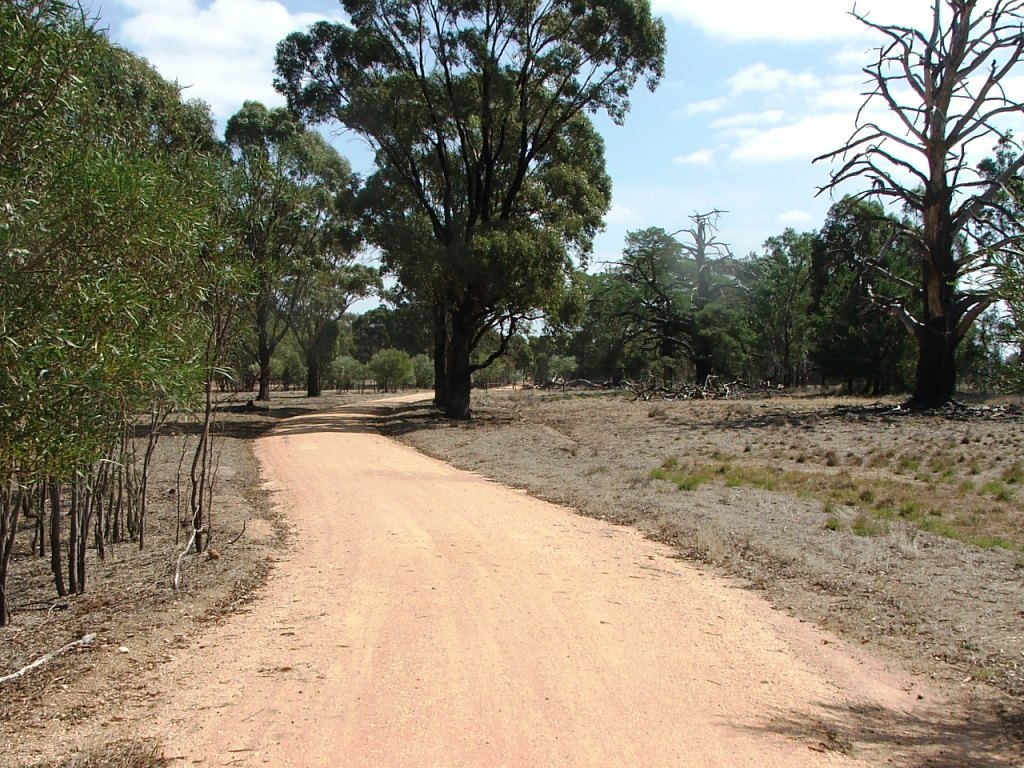
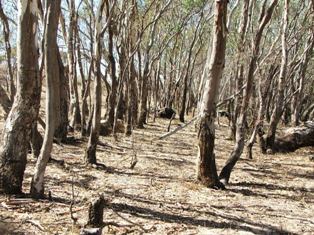
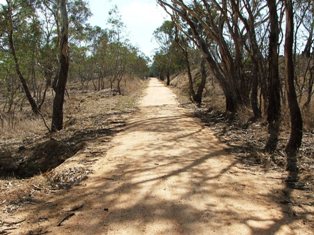
Cutting from Derrinal Station towards Mt. Ida Creek.


imagesrail/dscf9705.jpg

Entering another cutting.

imagesrail/dscf9706.jpg

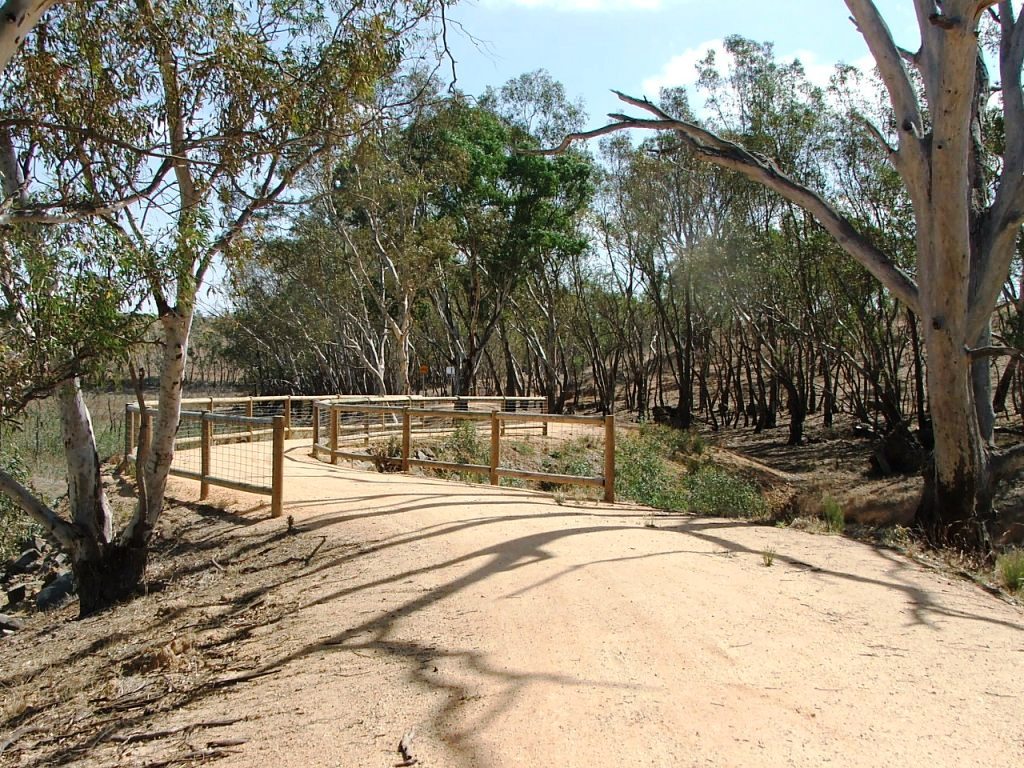
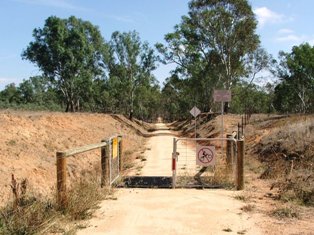
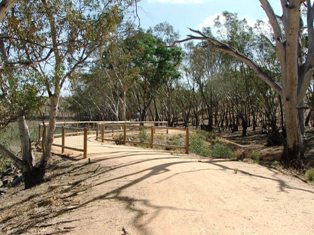
Cattle grid before the bank leaing to Mt. Ida Creek bridge.

imagesrail/dscf9708.jpg

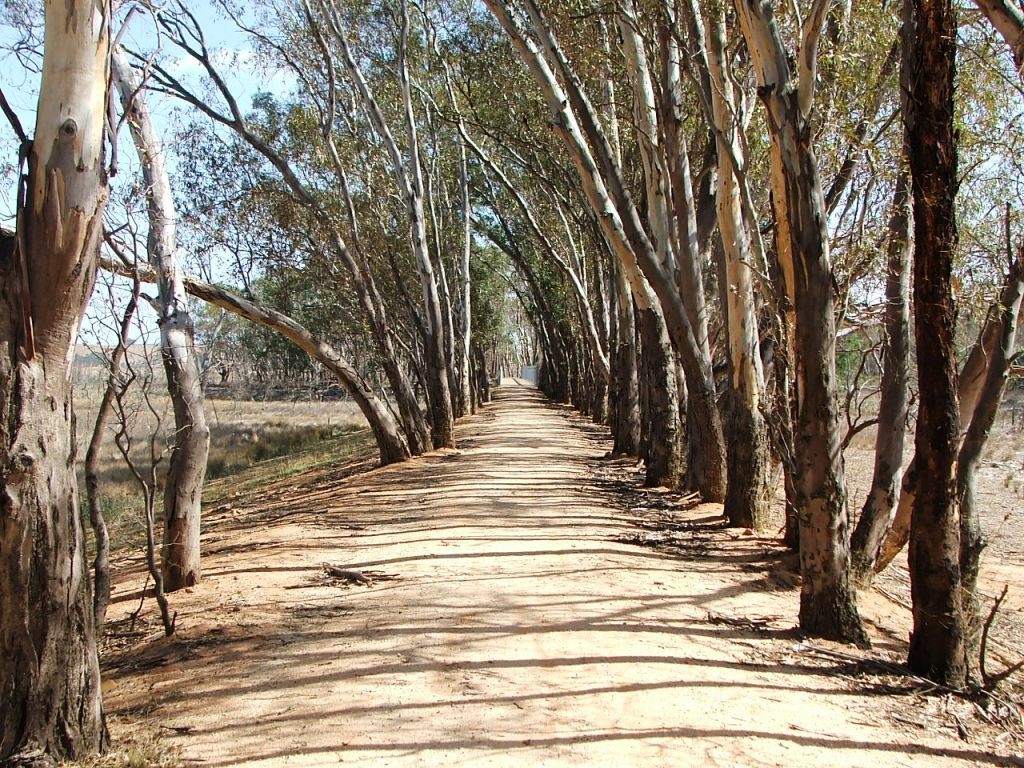
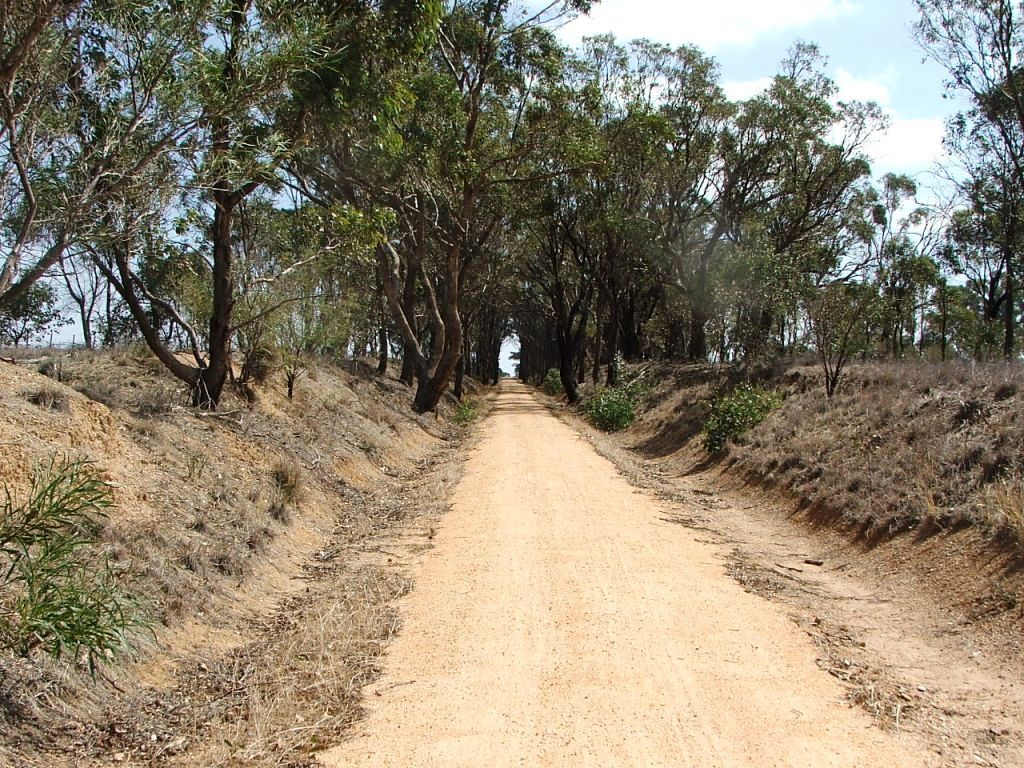
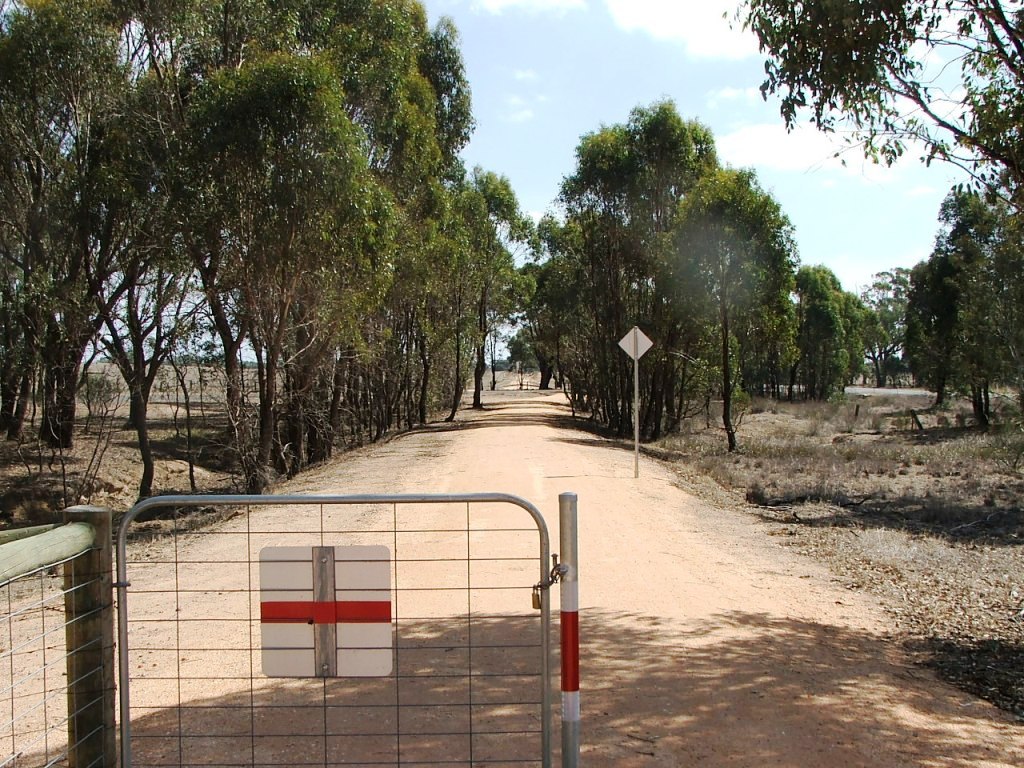
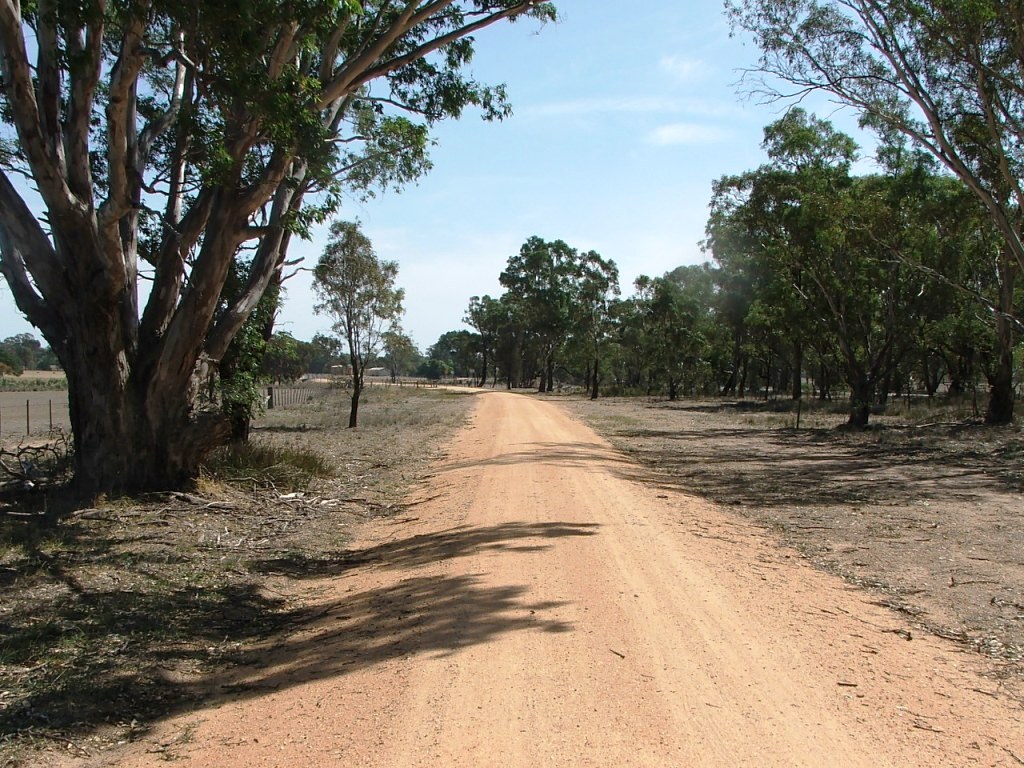
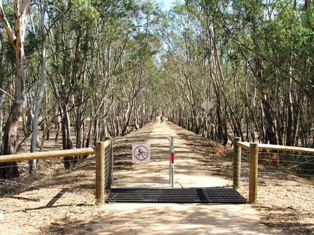
Avenue of trees leading to the bridge.

imagesrail/dscf0258.jpg

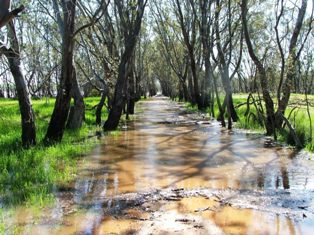
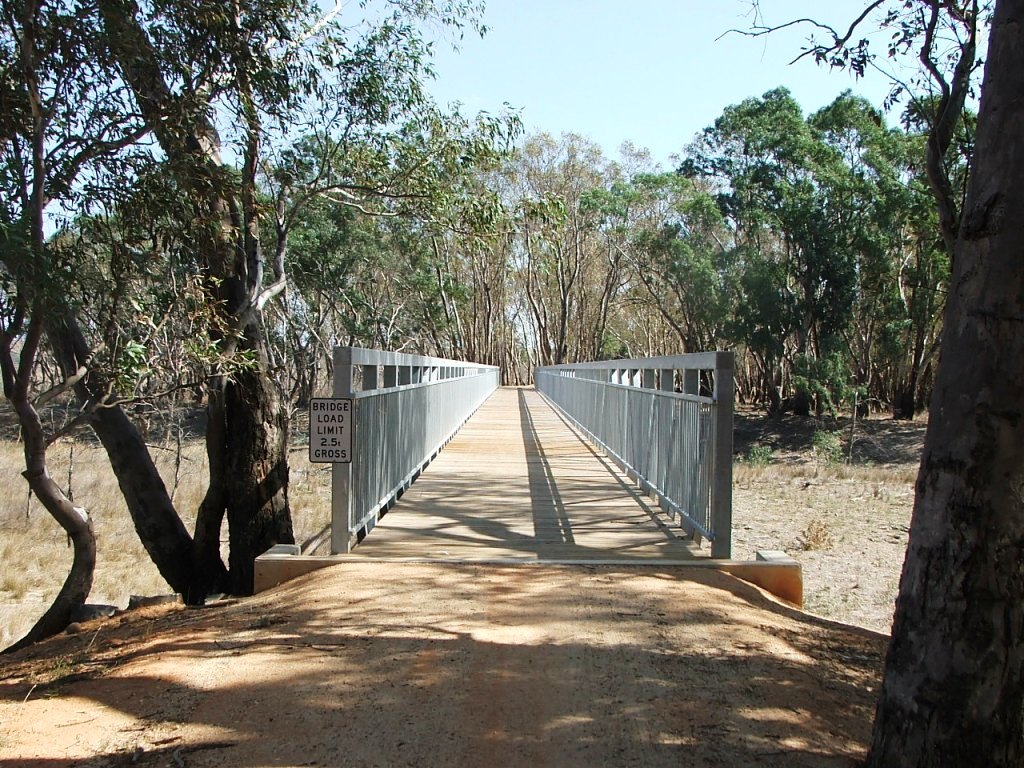
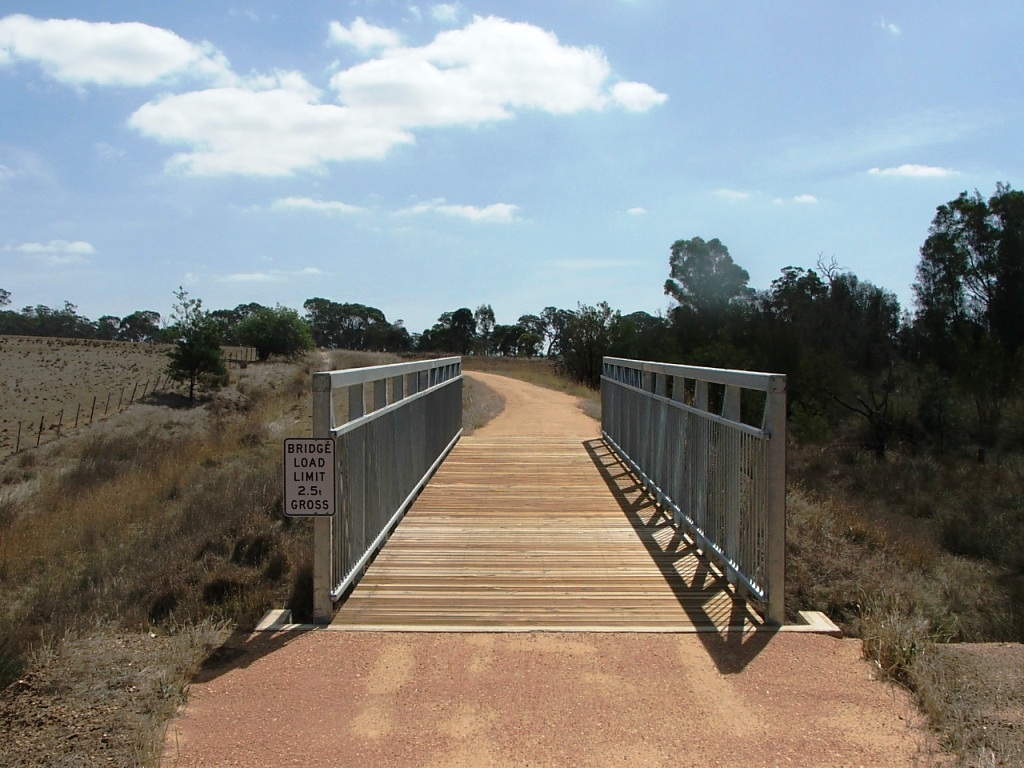
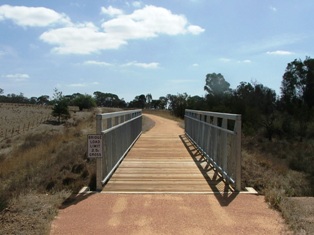
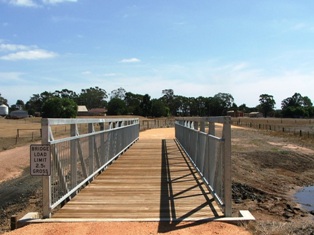
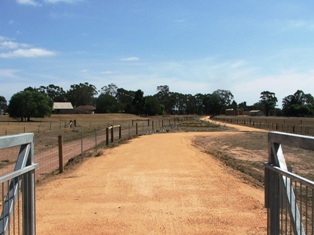
Approaching Mt. Ida Creek bridge, October 4, 2016.


imagesrail/dscf9709.jpg

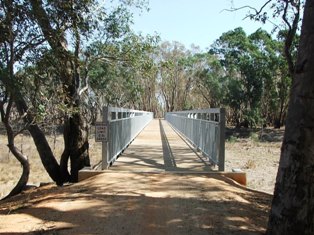
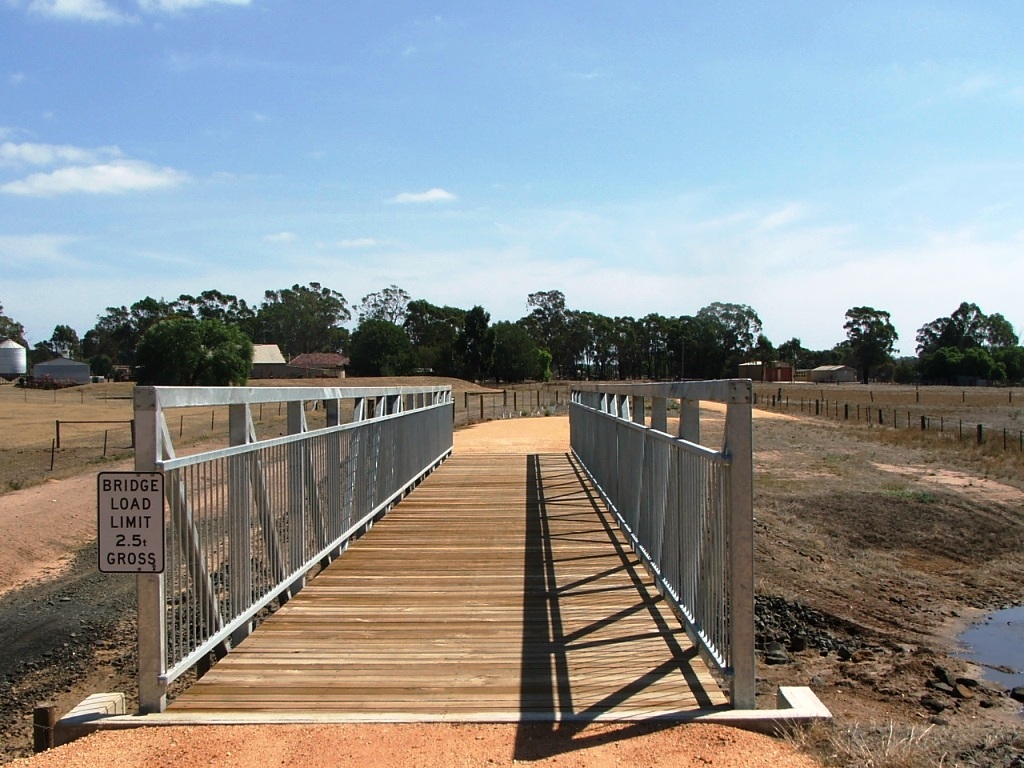
Mt. Ida Creek bridge. Originally a 26 x 15' timber bridge.

imagesrail/dscf9711.jpg

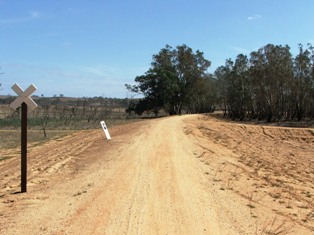
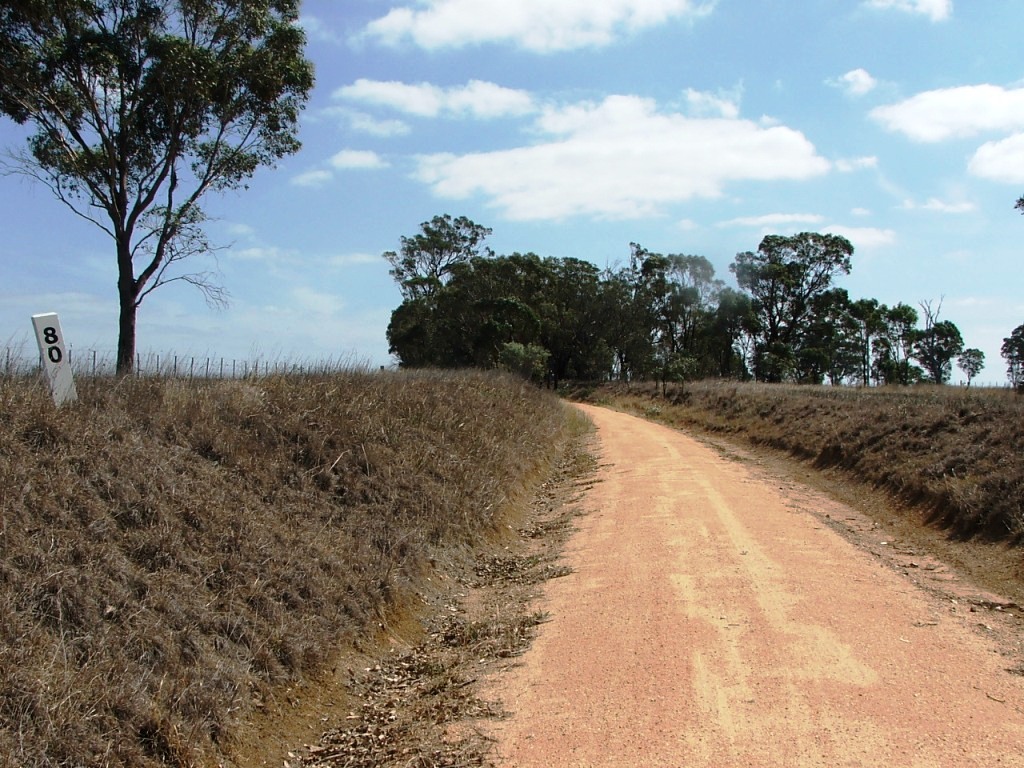
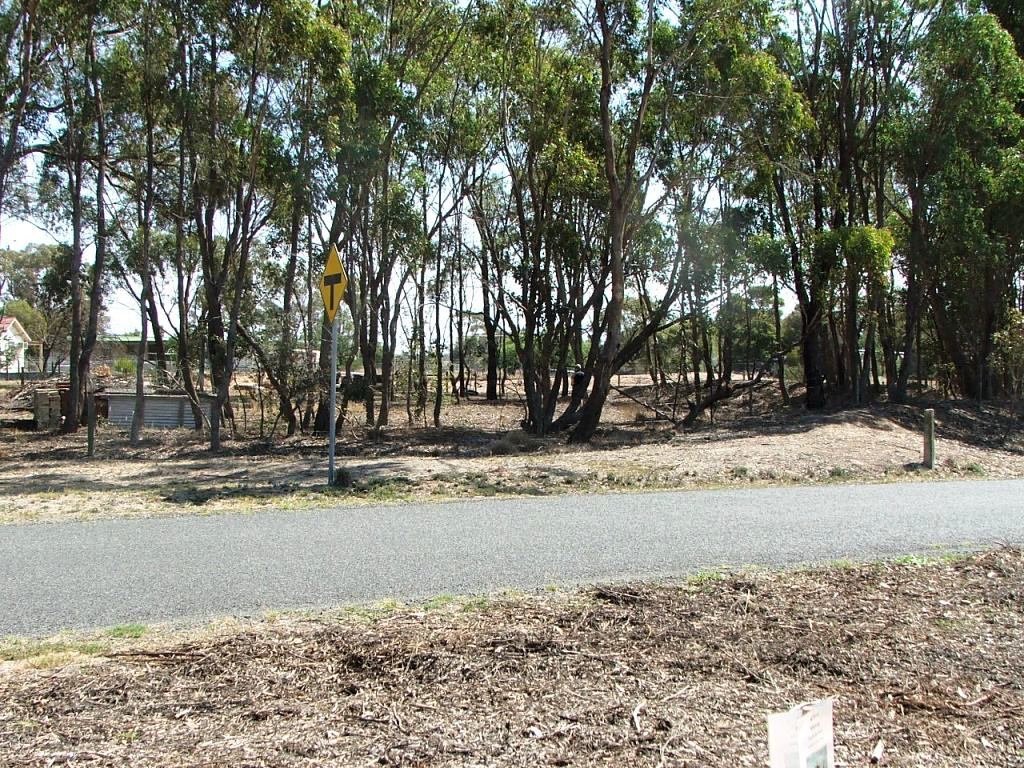
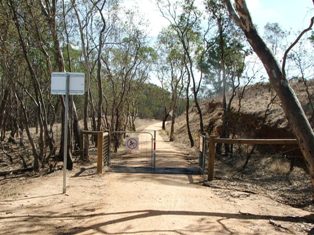
Replica Marker Post 77 and Derrinal-Crosbie Road PCR Crossing. This area has been raised 3m above the old line level.

imagesrail/dscf97126.jpg

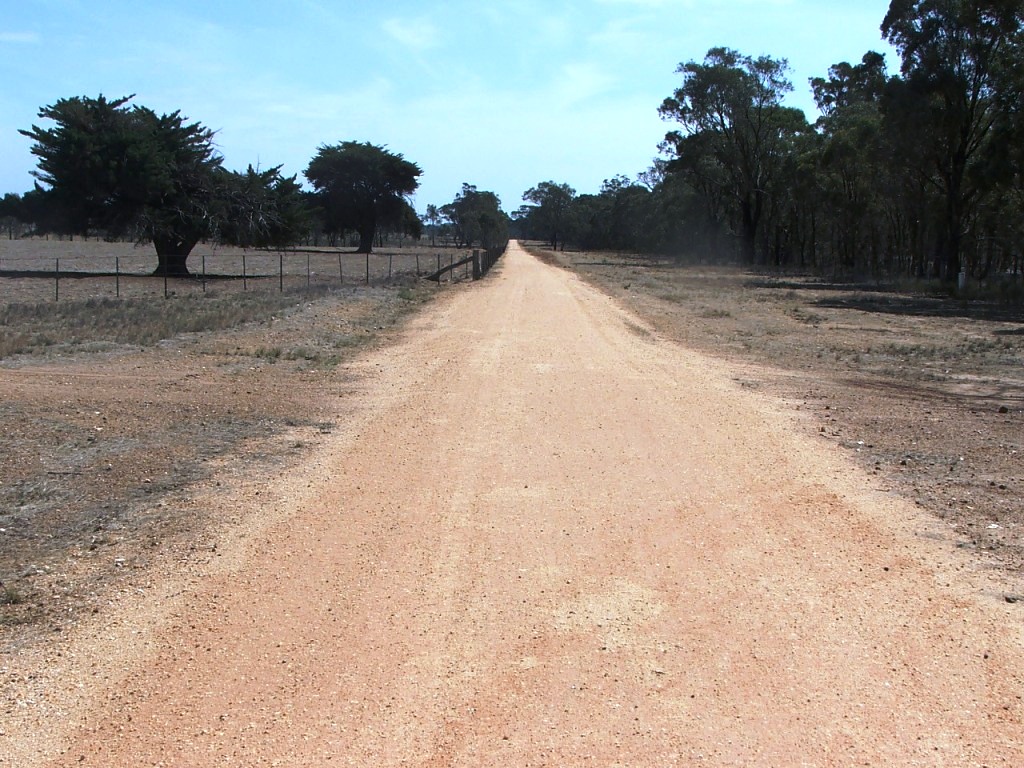
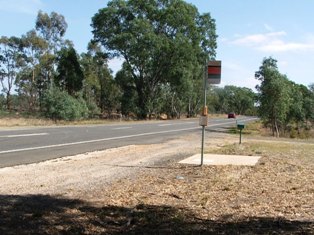
Derrinal-Crosbie Road, looking south towards Old Bendigo Road and old Sportsmans' Arms Hotel site. Ordinarily, this would be under water.

imagesrail/dscf9713.jpg

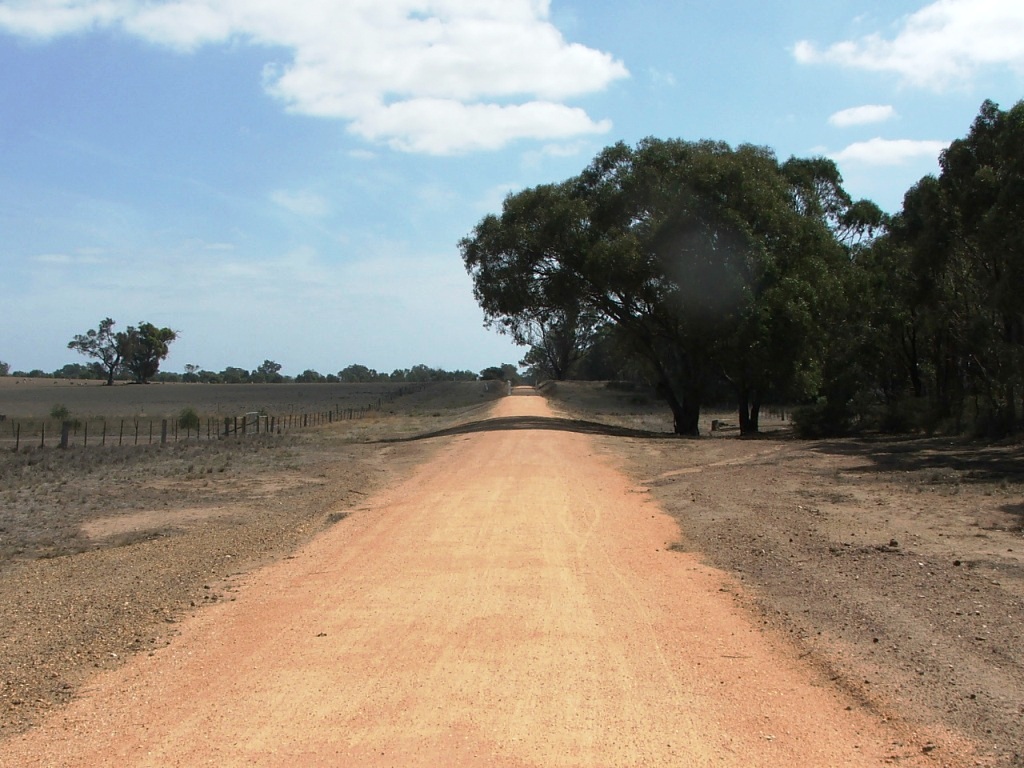
Derrinal-Crosbie Road, looking towards the North.


imagesrail/dscf9714.jpg

Part of the curve before climbing an Up grade.

imagesrail/dscf9715.jpg

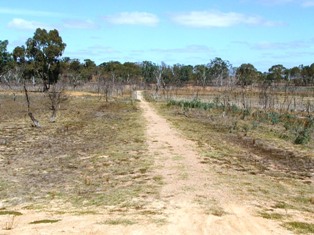
The line continued through the centre of the image.

imagesrail/dscf9716.jpg

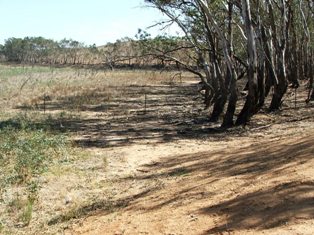
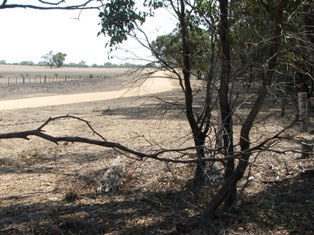
The alignment of the Occupation Crossing leading to the old sheepyards on the South side of the line?.

imagesrail/dscf9717.jpg

This tree line seems to match the Occupation crossing alignment on the North side of the line.


imagesrail/dscf9718.jpg

Starting an Up grade into the cutting at the first "boulder" area.

imagesrail/dscf9721.jpg

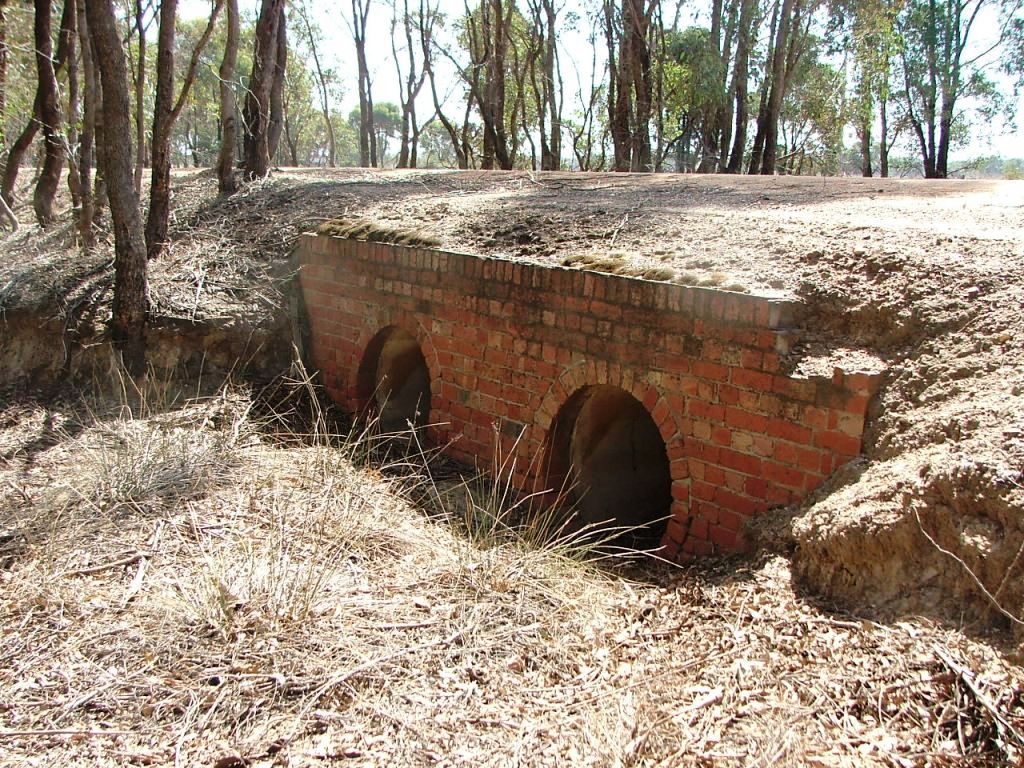
Entering the second "boulder" area. The culvert was once a 3 x 11' bridge.

imagesrail/dscf9722.jpg

In the cutting leading to a left curve and bridge.

imagesrail/dscf9725.jpg

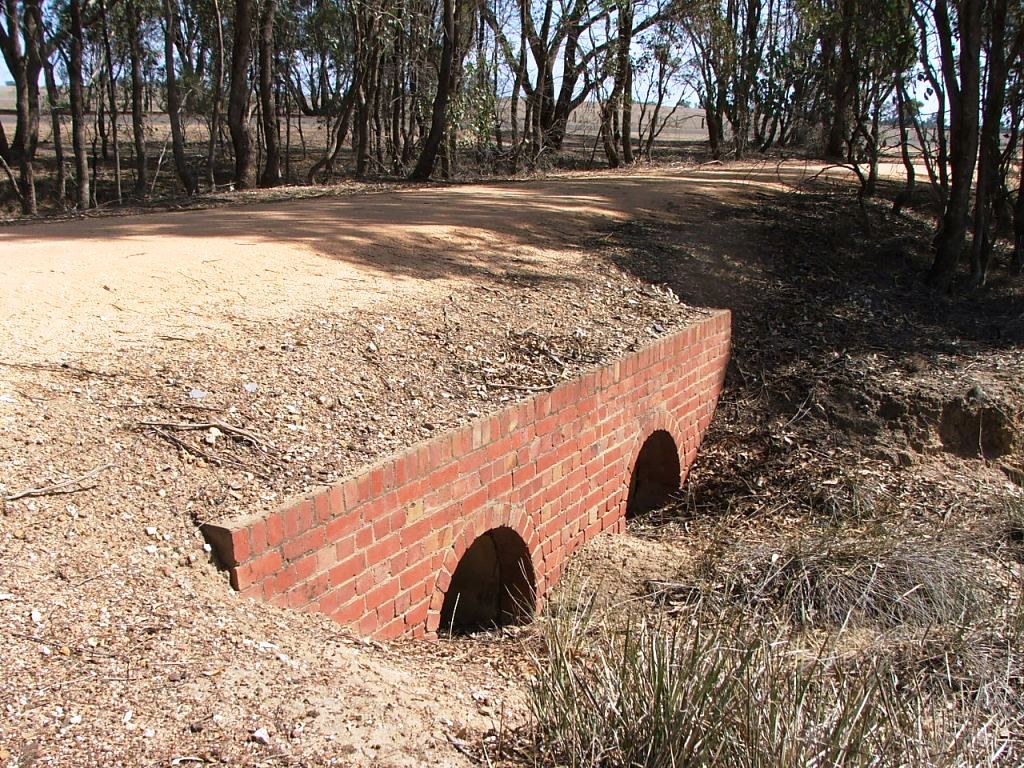
The bridge in the curve. It was once 7 x 11' openings.


imagesrail/dscf9726.jpg

Entering a cutting and lefthand curve.

imagesrail/dscf9728.jpg

Replica Marker Post 80.

imagesrail/dscf9729.jpg

From the top of the grade in the distance.

imagesrail/dscf9730.jpg

Heading towards Drummond Lane PCR Crossing.


imagesrail/dscf9731.jpg

Drummond Lane PCR Crossing.

imagesrail/dscf9732.jpg

The tree in the middle grew after the line closed.

imagesrail/dscf9733.jpg

A brick culvert on the other side of the cattle grid.

imagesrail/dscf9734.jpg

The brick culvert which was once a 3 x 7' openings bridge.


imagesrail/dscf9735.jpg

South end of the culvert.

imagesrail/dscf9736.jpg

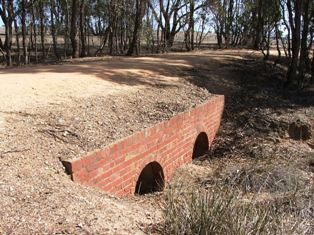
North end of the culvert.

imagesrail/dscf9737.jpg

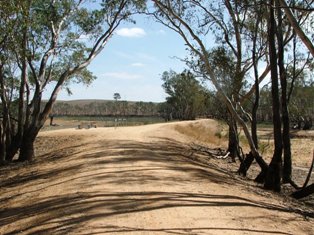
Crossing what was the main road to Bendigo, now Moorabbee Foreshore Road.

imagesrail/dscf9739.jpg

Cattle grid beams on the West side of the road.


imagesrail/dscf9740.jpg

On the straight towards Knowsley, running close and parallel to McIvor Highway.

imagesrail/dscf9741.jpg

Originally a 5 x 7' openings timber bridge.

imagesrail/dscf9742.jpg

Replica Marker Post 81.

imagesrail/dscf9744.jpg

Occupation crossing.


imagesrail/blank.jpg

Original bridge location image required here.

imagesrail/dscf9748.jpg

Another cattle grid.

imagesrail/dscf9749.jpg

Replica Marker Post 82 ahead.

imagesrail/dscf9750.jpg

Replica Marker Post 82.


imagesrail/dscf9753.jpg

Lefthand curve coming up.

imagesrail/dscf9754.jpg

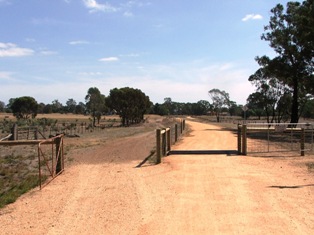
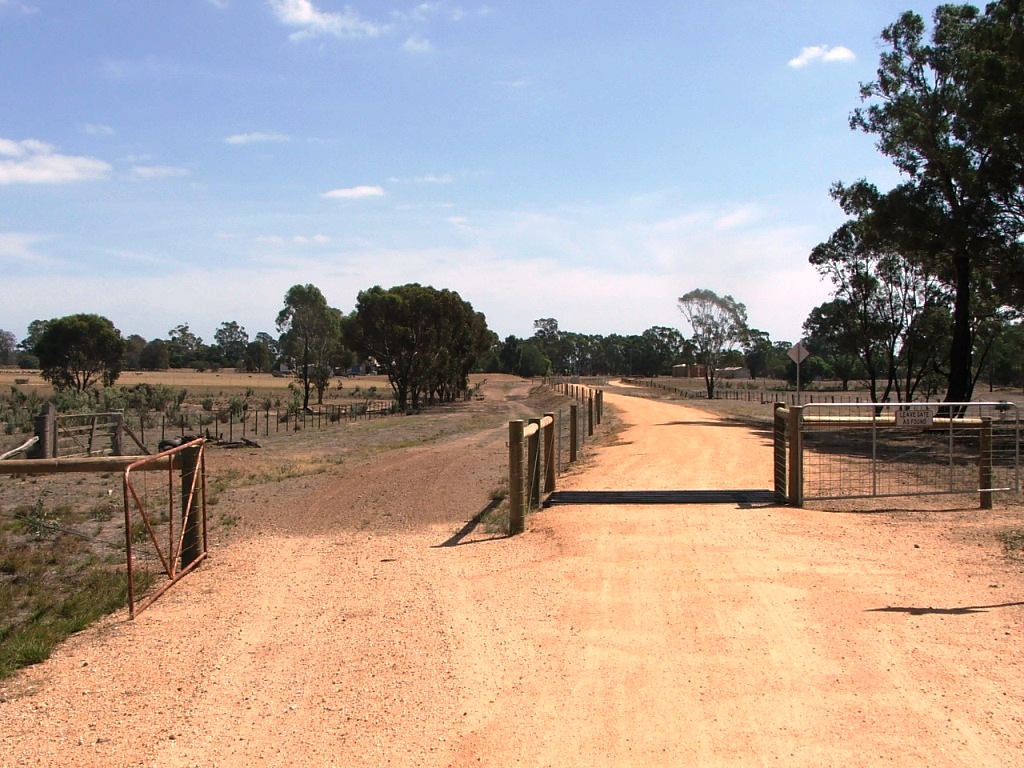
Another cattle grid. Note the timber railway gate in the fence on the left.

imagesrail/dscf9757.jpg

The original bridge was originally 7 x 11' openings.

imagesrail/dscf9758.jpg

The line continued almost straight ahead, now private property.


imagesrail/dscf9760.jpg

The line of concrete posts on the right formed the wing fence for the crossing and mark part of the station yard boundary.

imagesrail/dscf9759.jpg

Very little obvious evidence of the crossing exists today.


This site is hosted by CoffeeCup S-Drive.
Comments and suggestions may be e-mailed to